i built this courting dulcimer as a surprise wedding gift for my sister and new brother-in-law.

traditionally...
an unwed couple learned to play on the courting dulcimer together during their "courtship".
they would sit opposite each other with it across both their laps.

so, as long as there was a constant sound of a duet the couple could remain alone together un-attended-to by a chaperon. the idea being that everyones hands were being kept occupied.

then, on their wedding day the dulcimer is handed down to them and at that time they play their "first song" as a married couple for all their guests.

since i started building right when they got engaged, and they didn't know of it at all until the wedding, their "first song" was completely improvised. dulcimers are tuned in a open key so it still sounded sweet.


as a kind of signature touch i used J-holes
i
had drawn plans for the dulcimer long ago but never had any motivation
to build it until my sister got engaged. the construction took about 15
months, i completed it about two months before the wedding.


the heart design was part of my original drawings to go with a courting theme.

the heart and oval inlays are made of pipestone.
the string nut and saddle and teardrop inlays are made of deer antler.

the soundboard is made of redwood. the back and sides are maple. the necks are mahogany. the binding is all padouk with maple and mahogany purfling.


the dot inlays in the corners are bamboo which is also used to fill in some odd pre-existing holes in the neck wood.

since my sister and her husband are both naturopathic doctors i made their dulcimer with all natural non-toxic materials, with the exception of the tuner knobs and most likely the metal parts.

the entire instrument was assembled using natural animal hide glue. the finish is all natural beetle shellac. no synthetic glues or finishes used at all, and believe me, i was tempted to bust out my old pal super-glue a few times for little chip fills and fixes but i resisted.


the f-style mandolin tuners were incorporated into my original design that inspired the heart inlays. this is also a first stringed instrument for either of them otherwise i would have gone with natural wood tuning pegs too. maybe i'll upgrade them someday when they have gotten enough practice tuning.

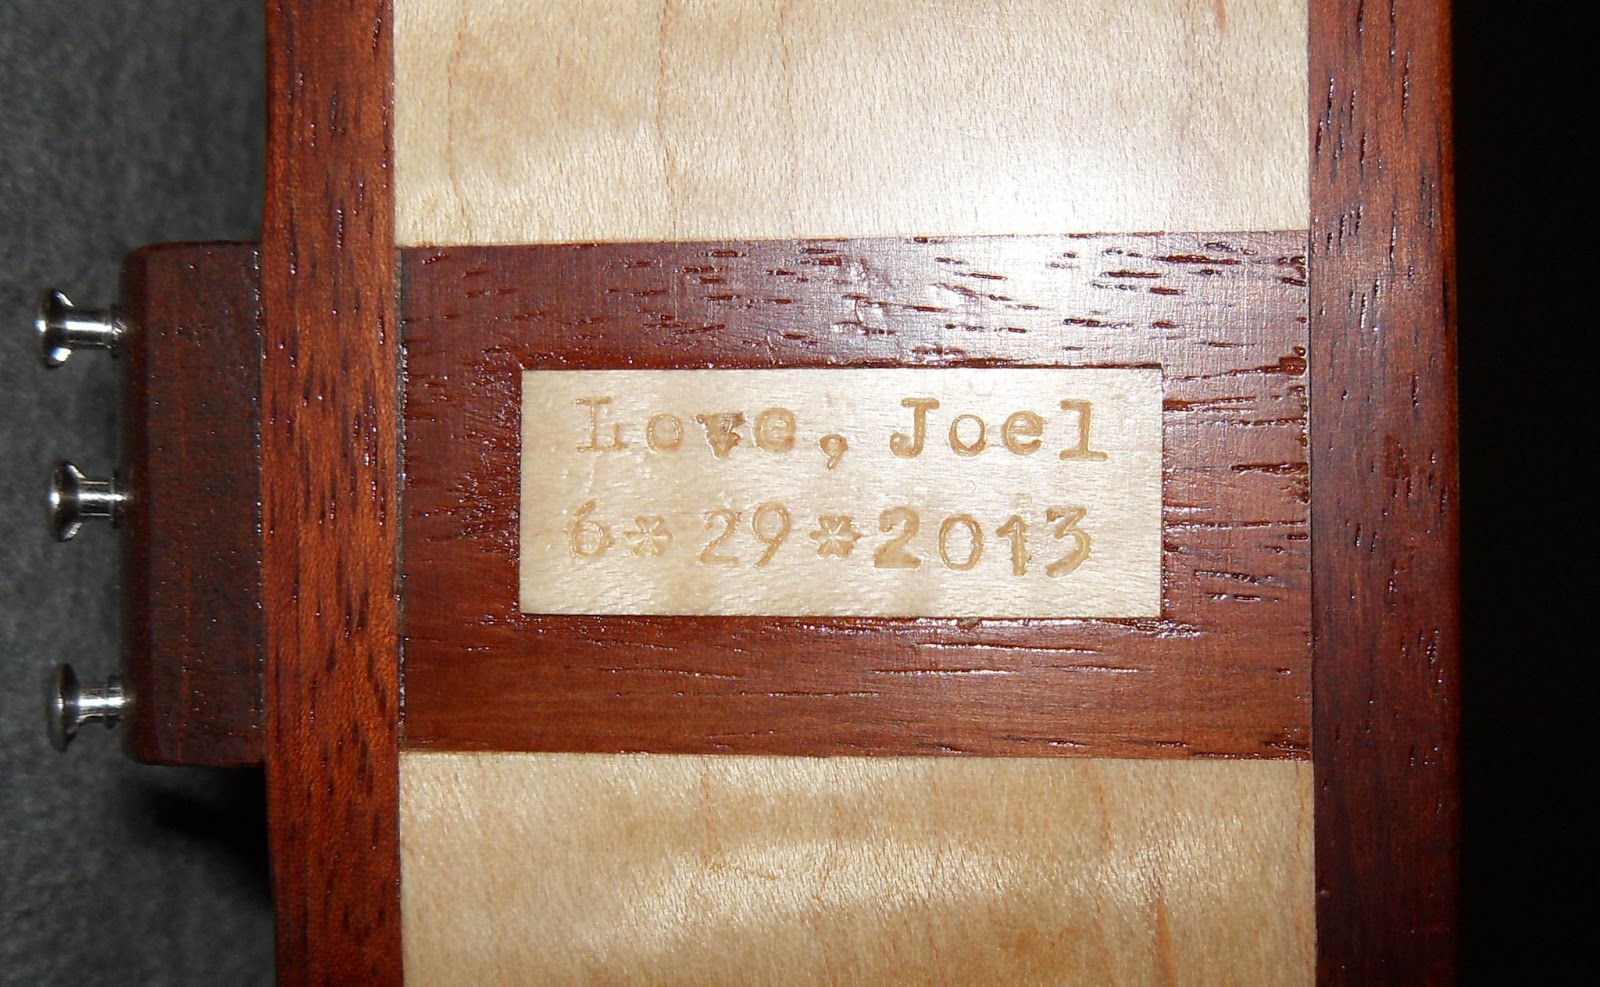
each tailblock has a stamped maple plaque.

i also built a hardshell case for it.
the case, i'm afraid, is not all natural.

the inner lining is gold fleece.

the outer cover is a cool mosaic/gator vinyl. the tag is a first try at the date plaque which i wasn't satisfied with.

the build
after the wedding date was set i began the building process. i got out the old drawing i had done and made up detailed, full scale plans. then i started shaping all the parts so everything would be ready to go together when i cooked up the hide glue.


the tail, head and corner blocks are made of mahogany. the braces are redwood.

i used a deer antler for the saddles and some of the inlays.

the plates for the top and back are the first to get glued up. here, two of the three maple plates of the back are being glued. the dark board in the center flattens the seam as the wedges at the left push the plates together.

after the third plate is joined, i rough cut the outline. most of the chip in the lower left was avoided. only a little patching was necessary.

same with the top, which then got the oval soundhole routed out and the J-holes started.

next the braces get glued to the top then they get carved down.


the back bracing starts with gluing on the seam reinforcing strips. then before the braces are glued, while i could still lay the back flat, i routed the channels for the padouk seam inlays.
here the braces for the back are getting glued on. the long piece going across the top is clamping the centers of all three braces. the center brace is taller so as the stick is pulled down at the ends it contacts the outer braces.

here is the completed back with all the braces shaped, sanded and ready to go onto the sides. so the next part is making the sides.

step one is to soak the strips of maple. a piece of plexi keeps the wood submerged.

i bend the large outline curves on the bending iron. the tighter curves that go into the corners are bent later after the side pieces, or rim, dry and set in the workboard.

the workboard is a sort of frame for assembling the rim. the dulcimer body shape is drawn onto the board and blocks are bolted on at clamping points of the outline

any minor gaps between the side and the block can get corrected with small wedges. this is done right after bending the side while it is still warm and pliable. after setting and drying the glue joint is a perfect fit.

after the rim was fit to the tail and head blocks i thinned the four corner ends of the maple on the sander. this made the tight curves at the corners easier to bend without making the entire rim too thin. this also re-flattened the maple which got a little wavy after the first soaking and bending.

here the rim is all ready for gluing together. when the clamps come off and the rim is still in the workboard frame, the top edge lining gets glued in with clothespin clamps.

once the glue on the top lining dried the rim was sturdy enough to remove from the frame. here the back edge lining is being glued in. you can see the top lining and the padouk corner trim in place.

then the rim goes back into the frame and the top gets glued on with clamps at all the blocks and bungee cord pulling the edges down onto the rim.

by now i had already shaped, inlayed and fretted the necks. both the headstocks were made with a router template i had to create. all the tuner holes have also been drilled at this point.


the heads fit into mortices routed in the necks. i only needed to do a little bit of fitting where the outer edges butt together and they were ready for gluing. i used ratchet straps to pull the heads snug in place.

at this point the necks are completed. before they are attached to the body the top binding needs to go on because it will run underneath the necks. first a channel is routed along the edge. the binding is two layers of veneer that got glued in first, and a thicker outer strip that had to be heat bent. all the vertical padouk trim has been inlayed. in the picture the last pieces of binding are getting glued to the corners with binding tape. you can also see the neck "heel" spacers. these are mahogany shims the same thickness as the soundboard and will cover up the mortice joints on the backs of the necks.
in order to clamp along the whole length of the soundboard and not just at the ends, i made a caul from a big scrap board and cork pads.

i only used animal hide glue to build this dulcimer. hide glue is a solid at room temperature. it needs to be heated into a liquid. once it is applied it starts to cool and gel up so gluing and clamping large surface areas like the full footprint of the necks has to be done quickly so the glue will adhere to both pieces of wood. i often just kept heat lamps on the whole area until the clamps were all in place.

here is the first neck all clamped up. my glue cooker is up in the top left.

and here is the second neck going on.

the big log caul inside the body sat on top of another scrap board to make space for the bottoms of the clamps. the clamps got positioned ahead of time so when i
put the neck in place all i had to do was drop the clamps down on it.

i ran a carriage bolt through the neck block and head tenon and into the neck. then i did the same thing on the other neck. building a courting dulcimer is very much like just building two of the same instrument. most of the parts are doubled.

just before the box is sealed up, i notch out the back edge for the braces. there is a hole in the center of the corner block. i actually ran a screw through the block and into the clamping block on the frame to glue the corners together. the hole got filled in with bamboo.

the back gets glued on with spool clamps.

the last step of the construction is putting the binding on the back edge. the process is the same as binding the top except i reversed the color order of the inner two veneer strips to contrast the maple. here the binding is getting glued on, held in place with binding tape. on the inner curve at the bottom you can see the ledge without the binding glued in yet
with the construction part done. all that is left now is a final sanding, a shellac coat, hardware and tuning up.


i had to build a custom fit hard case since i would eventually have to ship the dulcimer to seattle, and i wanted it to live safely with them forever. the inside mould is cardboard glued up in a stack then bandsawed to match the outline. the outer walls are masonite.