this is pretty much my main instrument and interest as of the last couple years.
i even quit playing bass, which had been my main instrument since the beginning of my musical life at 17.
now i just play hurdy gurdy and bouzouki mostly
(although i've recently started playing electric guitar for the first time in a band, stay tuned!).


now i just play hurdy gurdy and bouzouki mostly
(although i've recently started playing electric guitar for the first time in a band, stay tuned!).
it has six strings: 2 melody strings tuned in unison to D; an octave lower D drone and the G below that are on the keyboard side; a low A drone and the trompette tuned in unison to the melody strings are on the back side.


 i use a viola D string for my melody
strings(or canters), a nylon guitar G string for my trompette(or dog), and wound classical
nylon strings for the drones(or droners).
 the body comes from a salvaged sigma. it was bought only for the pickup
and preamp, then donated to me. the top originally had a blue-black
sunburst finish which was majorly chipped and peeling off in huge
sheets. the bridge was coming off too. right about summer 2011 someone
asked me if i could build them a hurdy gurdy out of a guitar body. i
investigated online a little and found that a few people have used
guitar bodies for hurdy gurdies so i knew i could too.
the body comes from a salvaged sigma. it was bought only for the pickup
and preamp, then donated to me. the top originally had a blue-black
sunburst finish which was majorly chipped and peeling off in huge
sheets. the bridge was coming off too. right about summer 2011 someone
asked me if i could build them a hurdy gurdy out of a guitar body. i
investigated online a little and found that a few people have used
guitar bodies for hurdy gurdies so i knew i could too.

strings(or canters), a nylon guitar G string for my trompette(or dog), and wound classical
nylon strings for the drones(or droners).
i never heard from my prospective client again, but now the idea had been implanted, i had already started making sketches and i had the sigma to use. i began by pulling off the neck and cutting the bridge out (not off,
out) of the top leaving a hole for the wheel. the laquer peeled off of
the top easily but not the back or sides so i opted to leave them and
get on with construction.
 i routed rosettes for the wheel cover anchors to match the section of original soundhole that is still visible.
 all of the added wood is either maple or ebony. alot of the maple is heavily spalted with black or blueish streaks. the ebony keys have some light streaks.

 i actually made the tailpiece back in red wing. when i decided to use it on the hurdy i think it looked sort of like tailfeathers so the bird theme evolved from there.


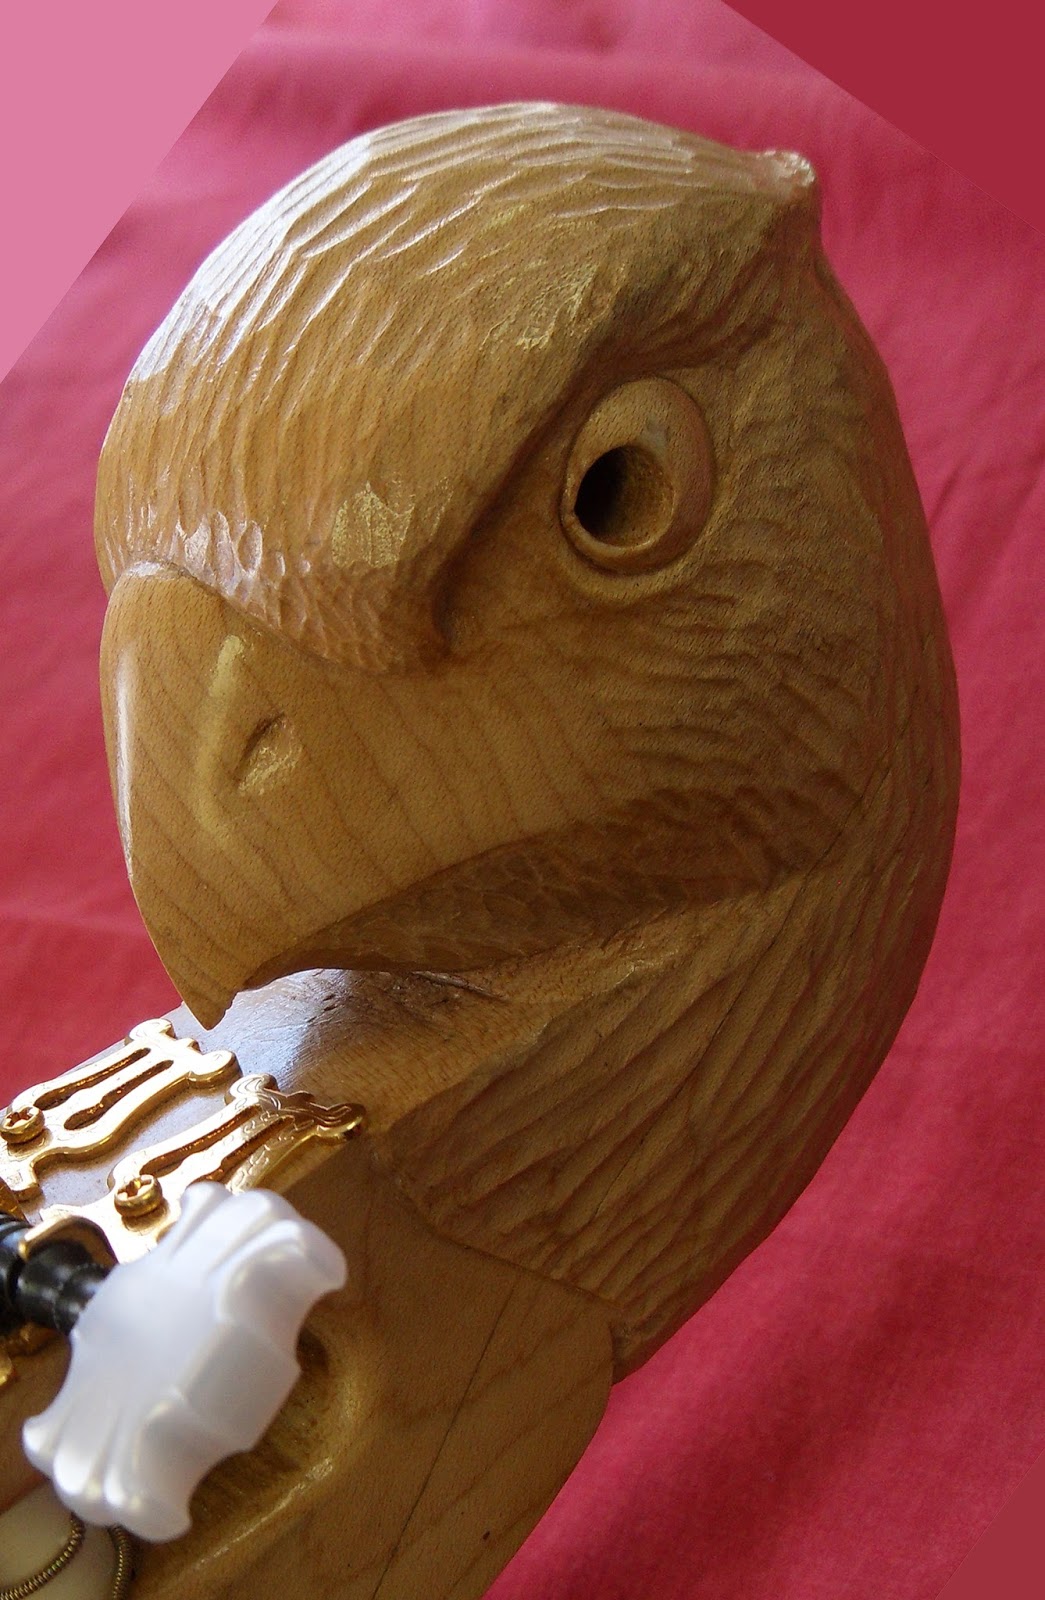

the headstock is one piece of maple. it is dovetail(sorry!) joined to the body just like the neck had been. the eyes go all the way through, you can see light in the pic. he's modeled befittingly after a buzzard.


the trompette is the rhythm feature of hurdy gurdies. the string goes over a "buzzing bridge" which simulates a sort of snare drum sound. the rotation of the wheel pulls the string upward, while the strings own tension pulls it back down, striking the bridge foot against the soundboard. i made several bridges to experiment with.

now a look inside the buzzards keybox we see the tangents. these are the pieces that contact the strings to play notes. each one is adjustable to be intonated accurately. the keys work by gravity so when released they just drop back down.


the last key is a mute switch for the melody strings, two ramps lift the strings off the wheel. the strings slide up the ramps and stop in grooves cut at the top. to release the mute i just push down on the back of the key with my thumb.

all of the drone strings have their own mute switch in a lower row of four keys close to the wheel. in the picture above the keys are all set in playing position, all of the the drone strings are touching the wheel.


the strings are pushed away from the wheel by leather dampers mounted on each key. the picture on the right shows all of the drones but the top back A string being muted.


another lower row of keys is meant to play a "second" melody on the A drone. this was a sort of unsuccessful experiment. the tangents press the string away from the wheel rather than back across the surface, into the rotation of the wheel so the notes just choke out. in these pictures that drone string is a plain nylon tuned up to a high G. i now use a wound nylon string tuned to the low A and the increased tension helps this function some. i can usually get to the C before losing the note.
the crank is a french door handle. a bit of overkill but i like it. i turned the handle on the drill press.
obviously that means i need to invest in a lathe.


i finally had to make myself a backpack to bike around with.
when anyone asks what kind of instrument i have, i reply: "no, this is a jet-pack."


