I know all four of you have been patiently awaiting the final installment of the Tres Cubano build, so here it is at last.
This is the lining and side braces for the inside of the rim. Some of the lining pieces with more closely spaced cuts are for the areas with a tighter curve, like the cutaway.

The side braces go in first, then the lining is glued in with clothespin clamps.


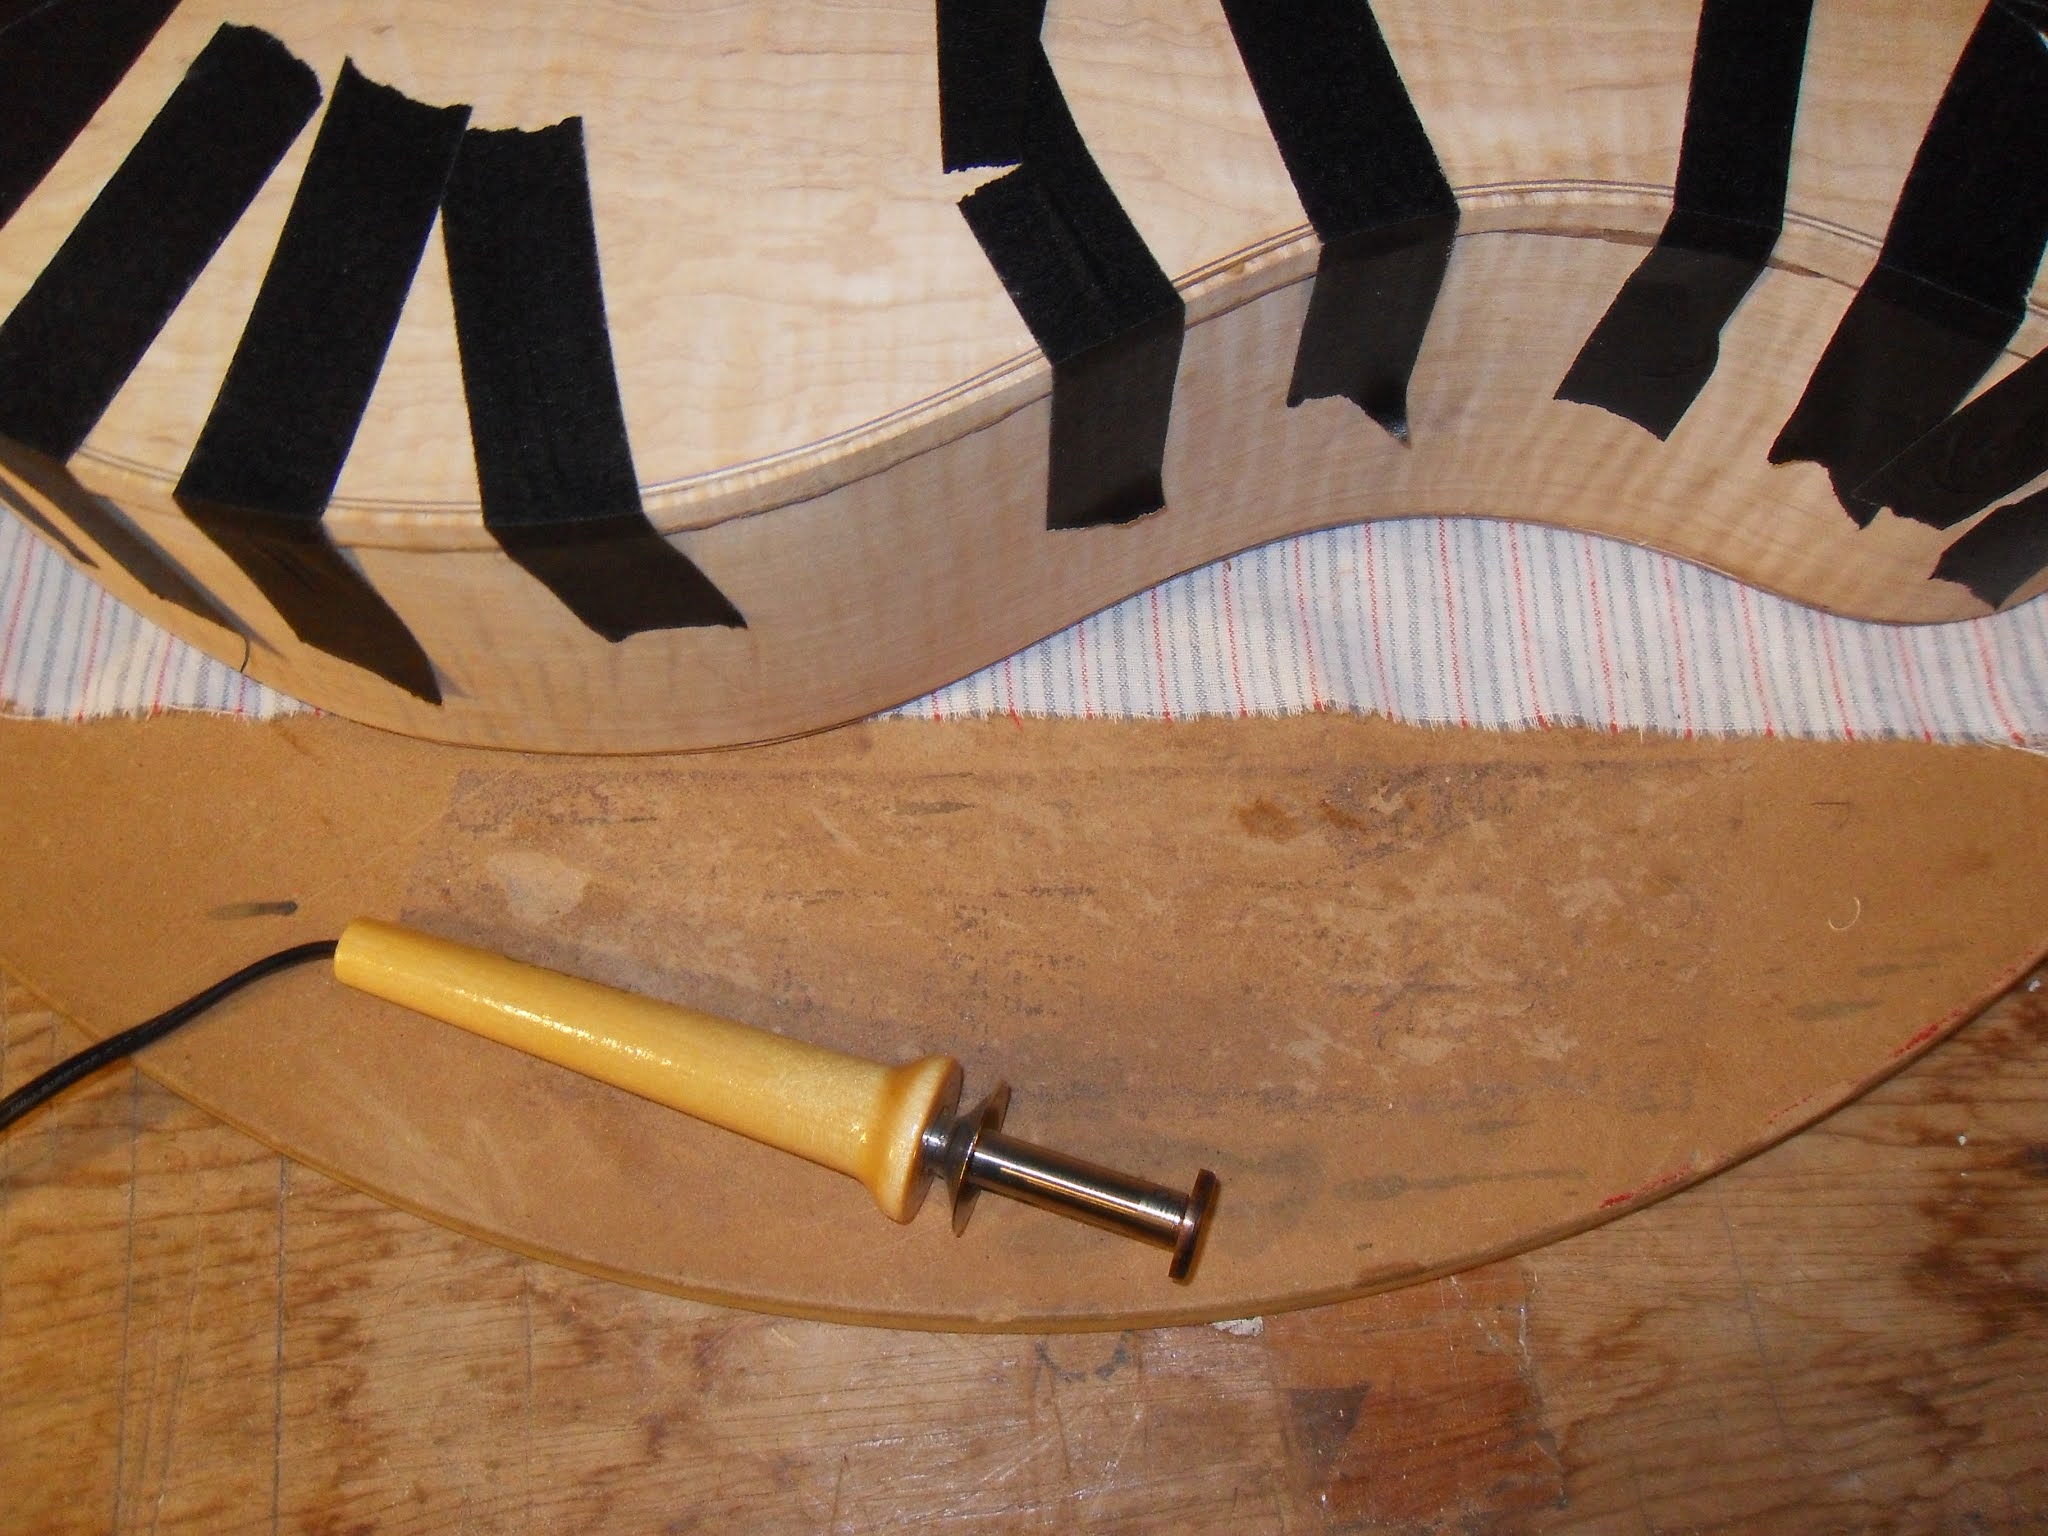
I keep the rim in place with turnbuckle clamps. They are out of the way from the back edge so I can glue on the back plate without the outline changing shape.


The back gets clamped down with bungee cords and clamps.


Then the body comes out of the workboard, and the turnbuckles are removed. Now the front plate gets glued on with spool clamps. I have a light running into the soundhole so I can check the fit on the inside.


The vertical trim pieces are glued on next.
The rubber bands are holding down a small maple patch that had chipped off while planing down the sides.


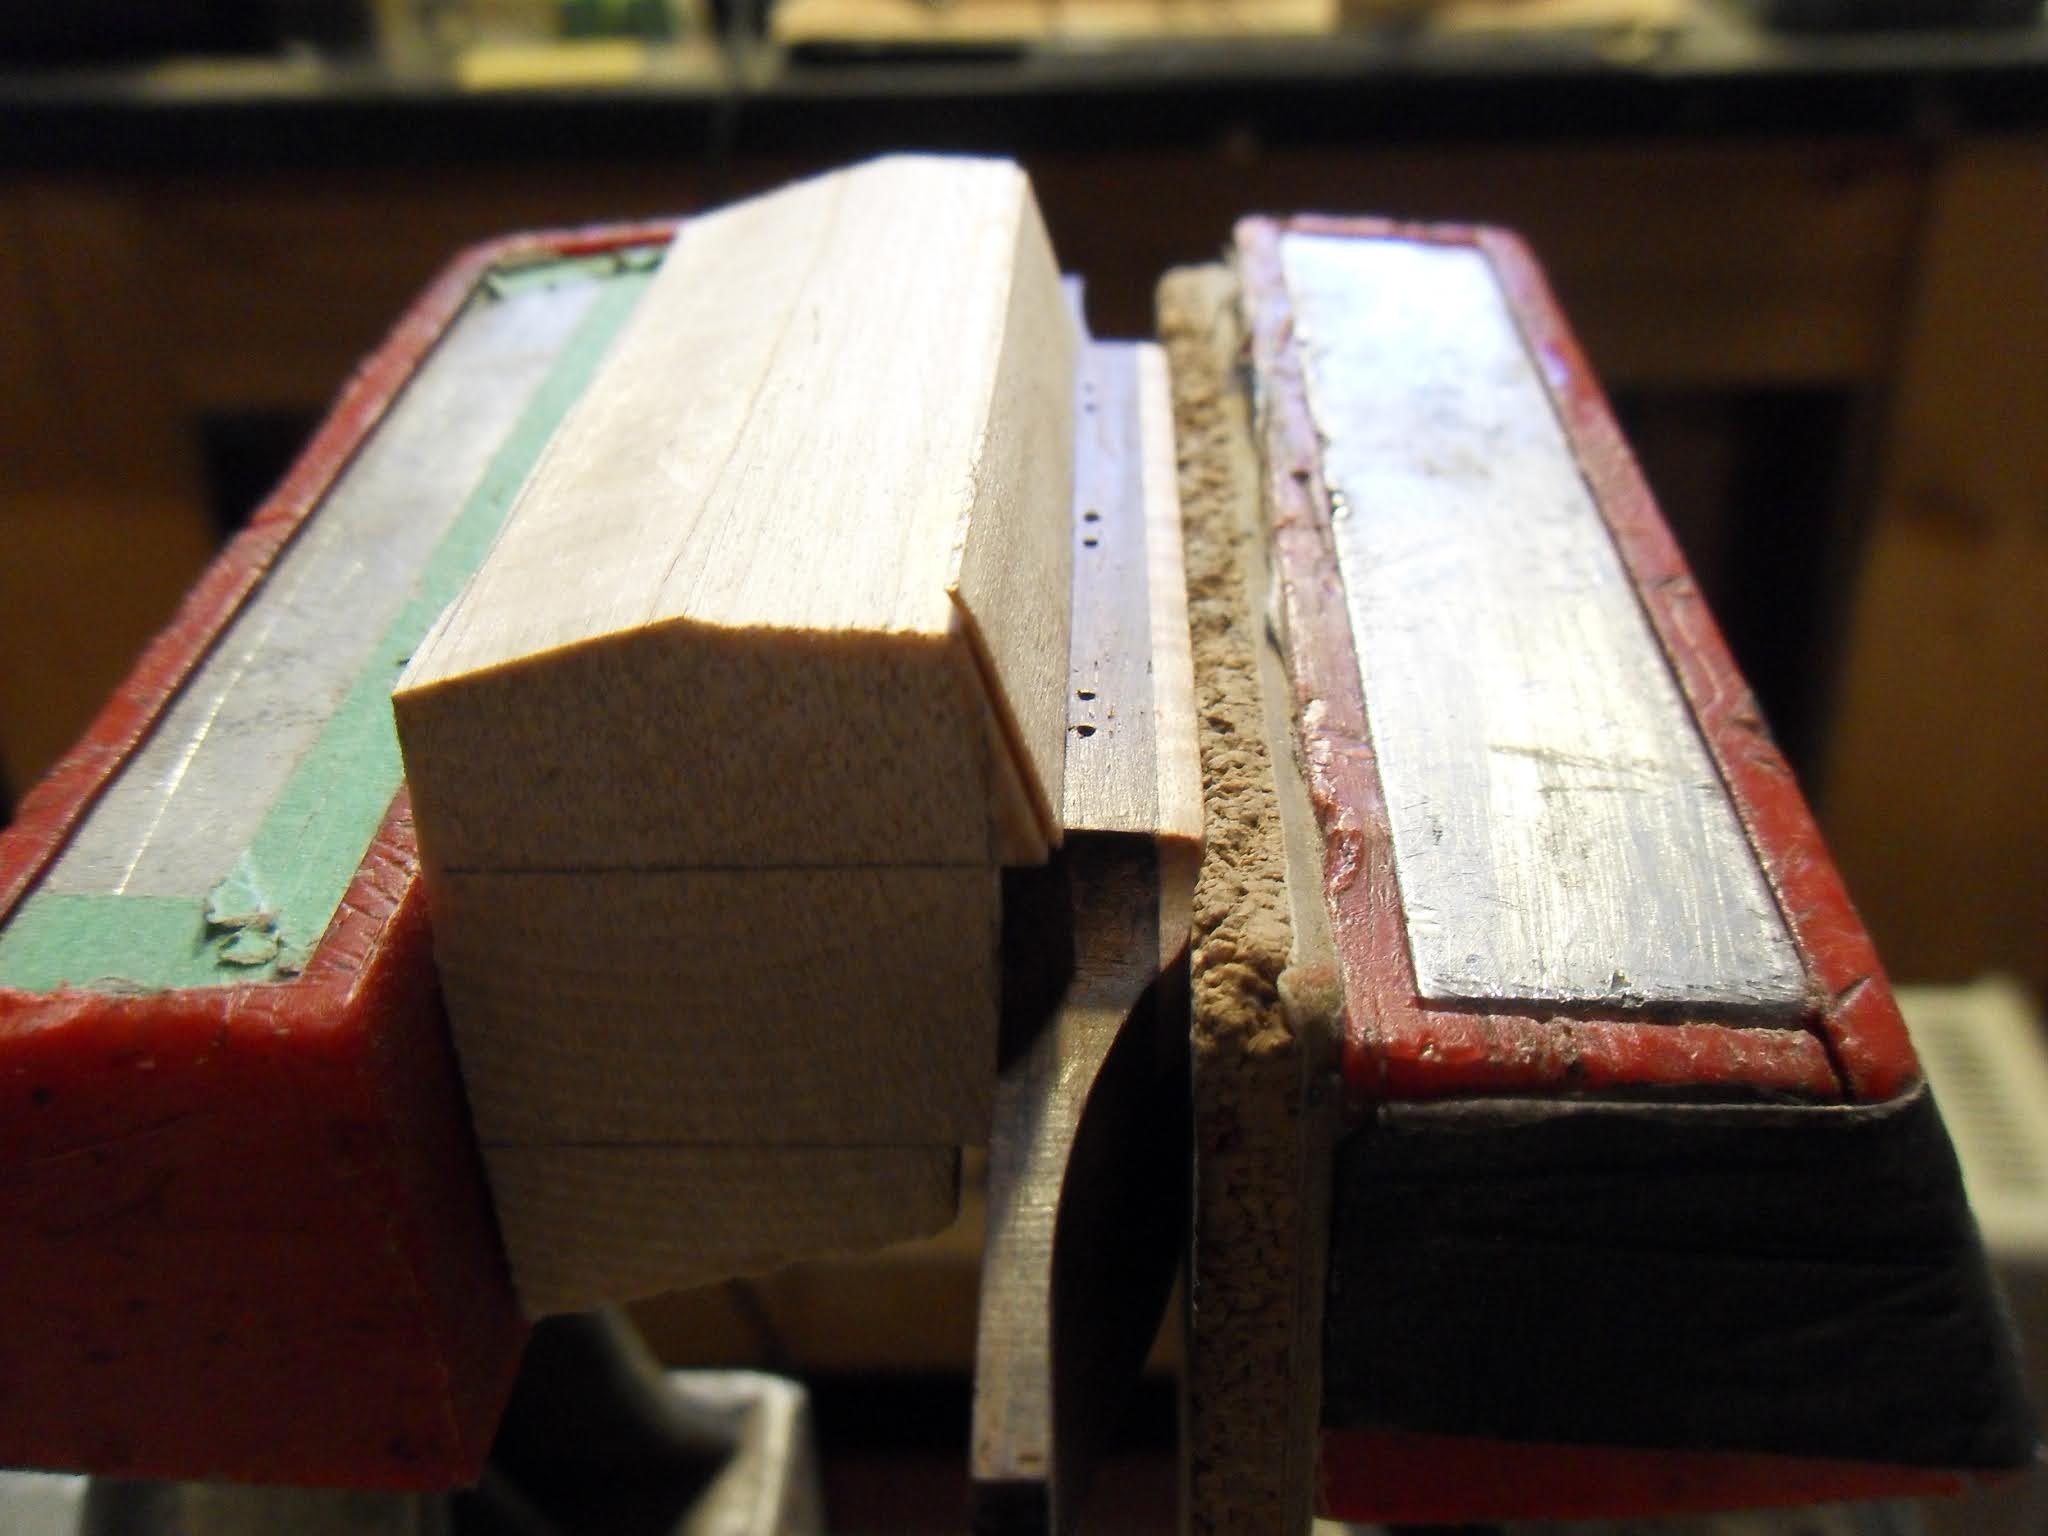
Channels for the binding are routed along the front and back edges.


The binding is made of the same maple as the sides and has to be bent to match the outline.
Veneer strips also get layered into the binding; those don't need pre-bending.


The binding is glued into the channels and held in place with heavy-duty Ax-Man tape.
I use this heated iron tool to press out any small gaps in the fit.

Sorry, but I neglected taking pictures of fitting and attaching the neck, as well as of applying the shellac. After the finish is on, the footprint of the bridge is scraped away. Gluing a bridge over a layer of finish is a sure way to guarantee glue joint failure.


Here I have the bridge clamped to a jig for drilling the string holes at an angle.

And finally, the bridge is glued on and at this point the instrument is pretty much complete.
All that is left is wiring the pickup, stringing, and final adjustments to the set-up.
 The final post of the completed Tres Cubano will be coming very soon.
